STLink Ninebot ESX ESC: Difference between revisions
| Line 38: | Line 38: | ||
==Flashing== | ==Flashing== | ||
Download the 1.3.9 full dump .bin from ScooterHacking. | |||
Open STm32 STLink Utility and select the file. | |||
[[Category: Scooters]][[Category: Ninebot]][[Category: ESX]] | [[Category: Scooters]][[Category: Ninebot]][[Category: ESX]] | ||
Revision as of 04:22, 23 May 2023
In the case of a bricked ESC/Controller/Control Board, STLinking can save the controller from needing to be replaced in some instances.
Accessing the Debug Pins
Accessing the ESC
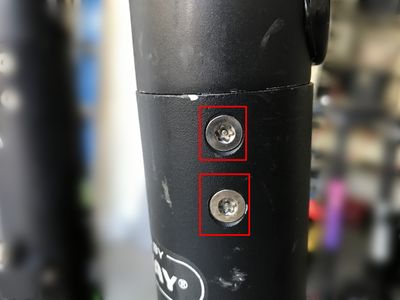
Remove the 4x Security Torx T25 screws or Hex Screws that hold the handlebar in place on the pole.

Remove the 4x Security Torx T30 screws or Hex screws that hold the pole to the base.
Dissassembling the ESC
The internal battery unplugs fairly easily but the BMS connector may need needle-nose pliers to remove the connector.
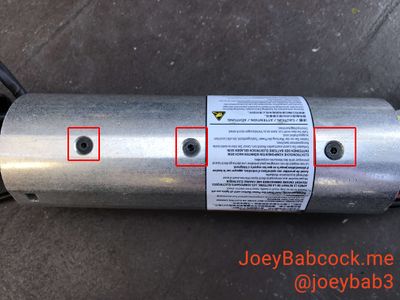
3 longer hex screws hold the heat sink in place.

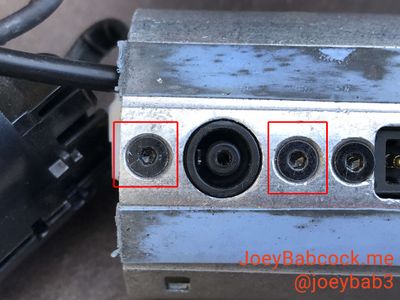
2 shorter hex screws hold the charging port in place.

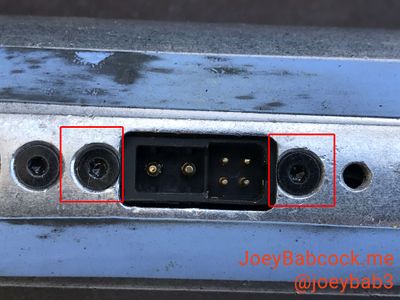
2 shorter hex screws hold the external battery port in place.

Software
Download STM32 STLink Utility from the ST website.
Scroll down and click "Get Software" and enter your email to receive a download link.
Install it and open it.
Flashing
Download the 1.3.9 full dump .bin from ScooterHacking.
Open STm32 STLink Utility and select the file.